Home > News > Industry News
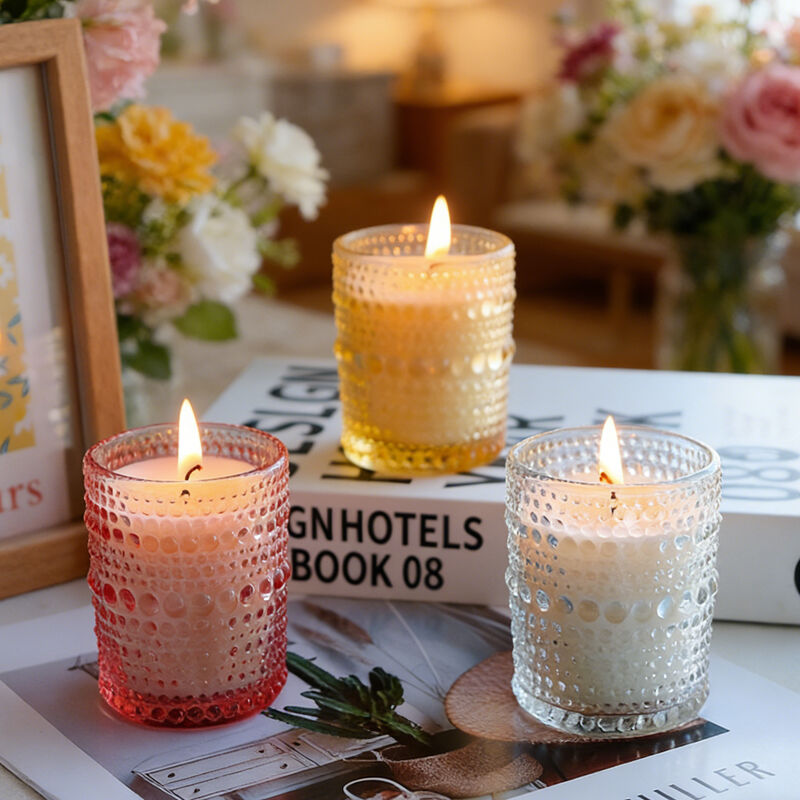
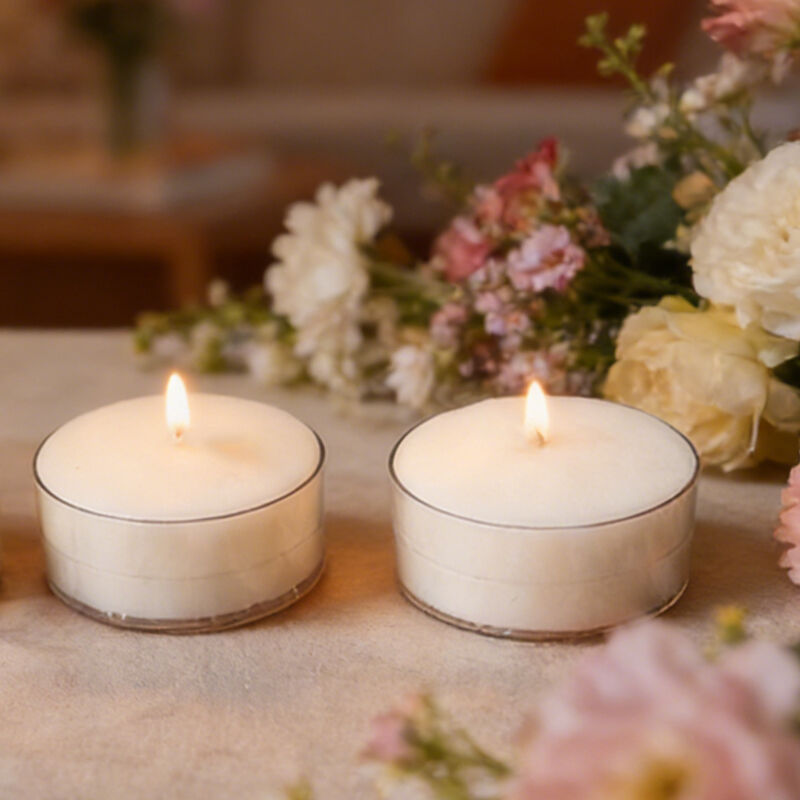
Aromatherapy candles are a powerful tool for enhancing life happiness, but many people have had the experience of burning expensive candles multiple times only to find a deep pit in the middle, surrounded by a thick layer of wax wall. This is not only unsightly but also a great waste - it's the dreaded "memory ring" (also known as "candle residue"). In fact, by mastering the correct usage method, not only can you avoid this situation, but you can also extend the burning time of a candle by tens of hours. Today, let's share 5 practical tips to help you say goodbye to waste and make candlelight last longer.
The first firing is crucial: breaking the curse of "memory"
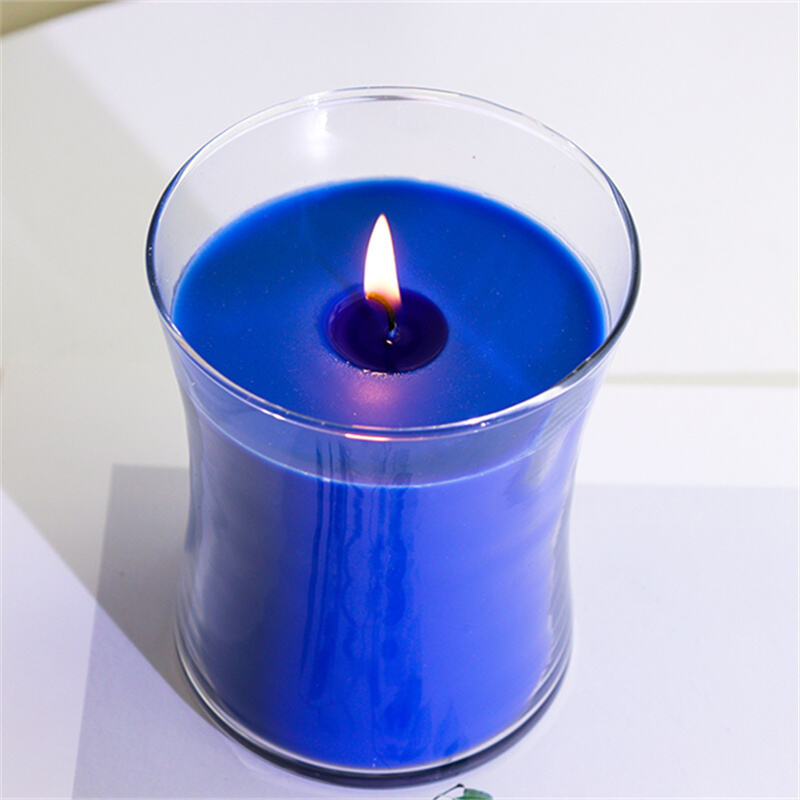
Candles have a "memory", and this memory is formed when they are lit for the first time. A common mistake made by many novices is to blow out the candle shortly after lighting it, resulting in only the middle part melting while the edges remain hard. Once this concave "memory" is formed, every subsequent burn will only melt the middle part, and the pit will get deeper and deeper.
Correct practice: When lighting the candle for the first time, please be patient. Depending on the diameter of the candle, it should burn for at least 1-2 hours until the surface wax completely melts into a flat pool of liquid, extending all the way to the edge of the cup. This usually takes 2-4 hours. Only by laying this "foundation" can subsequent burning be smooth and even, eliminating the formation of memory rings from the source.
Trim the candle wick regularly: avoid black smoke and excessive consumption
Have you ever noticed that sometimes the candle flame is very large, accompanied by black smoke, and the candle wax is consumed very quickly? This is usually because the wick is too long. An overly long wick can lead to incomplete combustion, resulting in carbon buildup, which not only blackens the sides of the candle container but also causes the candle to "shrink" quickly without notice.
Correct practice: Before lighting each time, check the length of the candle wick. The ideal length should be maintained at around 0.5-0.8 centimeters. If it is too long, use a professional candle wick trimmer or scissors to trim it to the appropriate length, and clean up the debris that falls on the wax surface. This will not only ensure a stable flame and pure aroma, but also effectively slow down the burning speed of the candle, allowing it to accompany you for longer.
Control single session duration: 4-hour rule
Although we want to avoid a short burning time, this does not mean that the longer the burn, the better. Prolonged burning can cause the candle cup to become too hot, leading to the overheating and overflow of the candle wax, and even posing a risk of the glass cup cracking. Furthermore, overheated candle wax will accelerate the evaporation of the essence, resulting in a weaker fragrance in the latter half of the burning.
Correct practice: Follow the "4-hour rule". It is recommended to keep the burning time between 1-4 hours for each burn. If the burning exceeds 4 hours, it is advisable to extinguish the candle first, allow the wax to cool and solidify for a while, and then relight it after the cup has cooled down. This not only ensures the safety of the container but also maintains the layered aroma.
Smart Use of Tools and Environment: Smart Covers and Shelters
Environmental factors have a significant impact on the lifespan of candles. When placed near ventilation points (such as air conditioning vents or fans), the flame of the candle may flicker, leading to uneven burning, with one side burning faster while the other remains unburned. Additionally, using some small tools can effectively address the burning issue.
Correct approach:
Avoid drafts: Place the candle on a stable, draft-free surface.
Use the "smart lid" or tin foil method: If you notice that the candle has begun to slightly drip down the sides, you can wrap the cup opening with a piece of tin foil (leaving a small hole in the center for ventilation) when lighting it, or use a specialized heat-concentrating lid (smart lid). This will concentrate the heat, helping the residual wax on the edges melt and flow back to the center, thus repairing the uneven wax surface.
Put out the fire properly: don't let a single breath ruin it
It is a common habit for many people to blow out candles with their mouths, but this is actually one of the main culprits that shorten the lifespan of candles. Blowing air will generate a large amount of black smoke, polluting the white wax liquid and the wall of the cup; at the same time, strong airflow may cause the candlewick to tilt, and even blow unburned charcoal into the wax pool, affecting the next combustion.
Correct practice: It is recommended to use a candle extinguisher cover (which covers the flame like a small lid) or a candle extinguisher hook (which presses the candle wick into the wax liquid to extinguish it). If you don't have professional tools, you can also use a toothpick or other thin object to gently press the candle wick into the center of the wax liquid to extinguish it, and then straighten it for easy lighting next time. This is both elegant and hygienic, and can prevent odor and black smoke, perfectly caring for your beloved candle.
Summary
To ensure that your aromatherapy candles last long and burn beautifully, the key lies in "thorough initial burning, a short wick, moderate burning duration, a draft-free environment, and gentle extinguishing". Mastering these five tips will enable each candle to deliver its maximum value, making every lighting a perfect enjoyment.
 Hot News
Aoyin Xingtang Candle Co., Ltd., founded in January 2014, is situated Hebei Province. it features 5 production lines and over 400 machines, specializing in scented candles, tea lights, jar candles, pillar candles, and more.
Fengjiazuo Village West, Yuting Township, Shijiazhuang, Hebei, China
Copyright © Aoyin Xingtang Candle Co., Ltd. All Rights Reserved Privacy Policy